Free BoatUS Towing Membership and MMSI Number< Back to Region Select
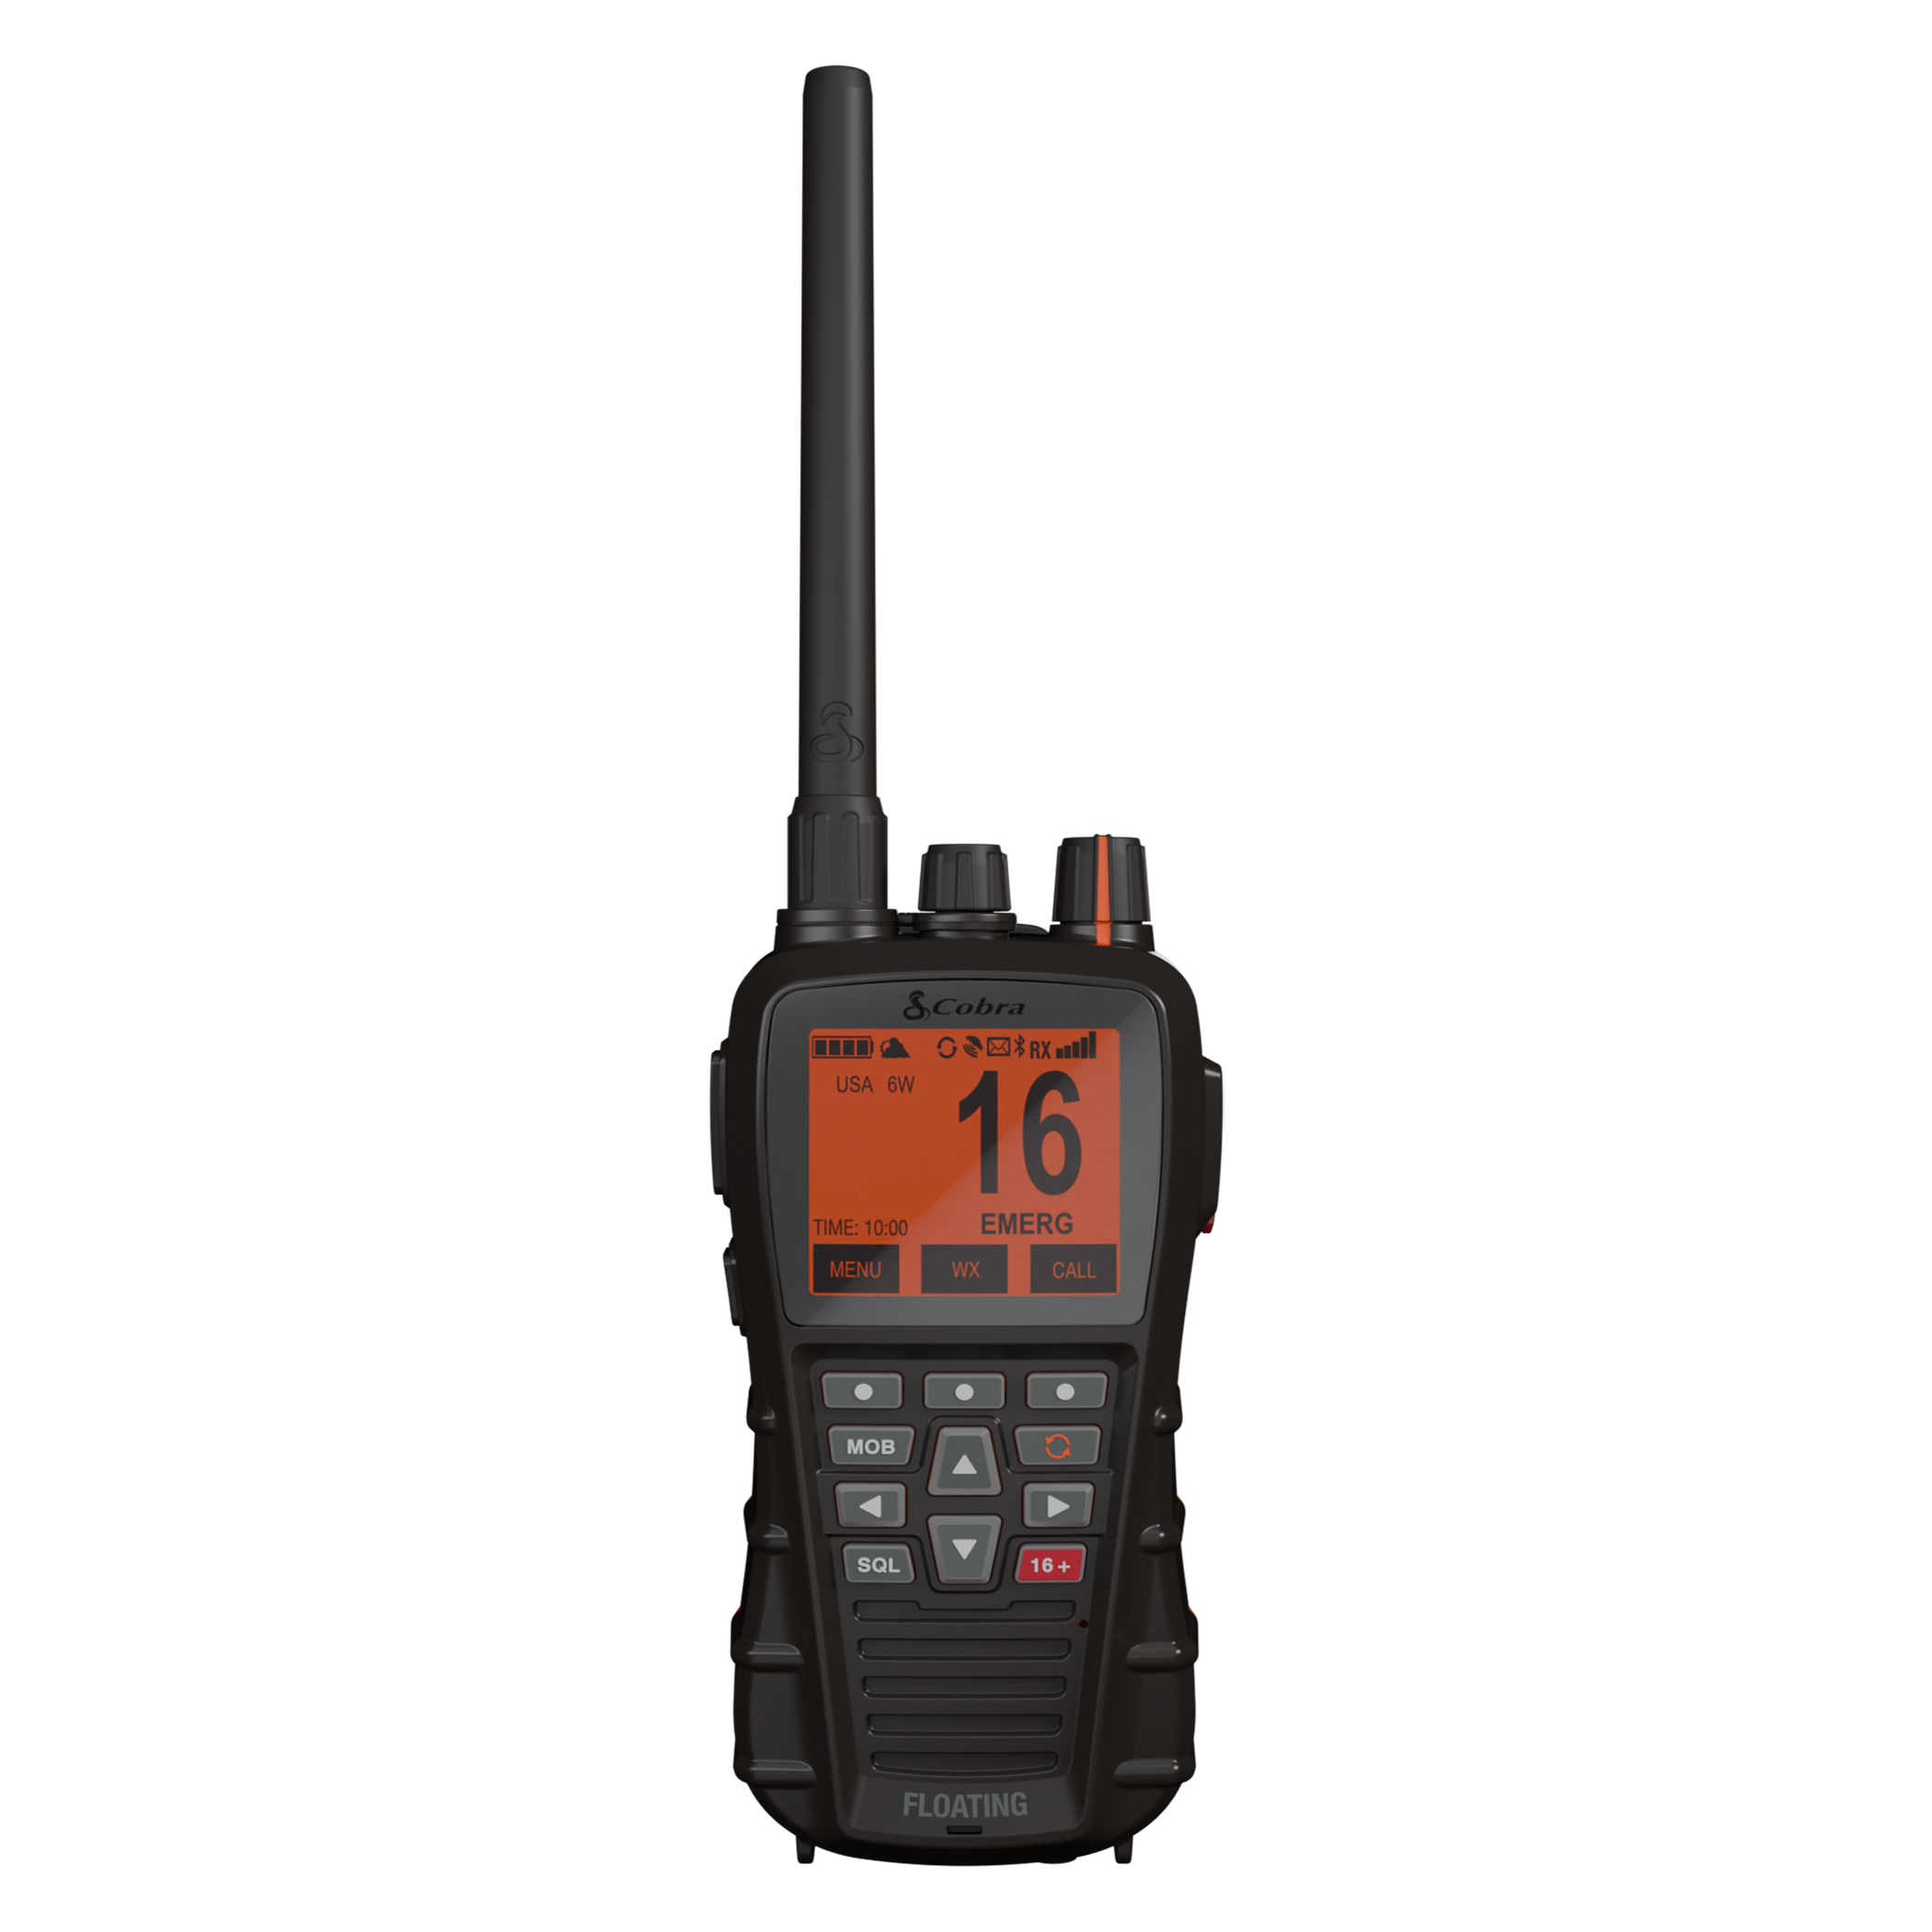 Cobra BlueBound 650 VHF (Black) Cobra BlueBound 650 VHF (Black) | BlueBound 650Congratulations on your purchase of the Cobra BlueBound 650 VHF GPS Marine Radio! Excellent choice. To get acquainted with it, download the manual, then visit the links below for more helpful information.Questions & Support |
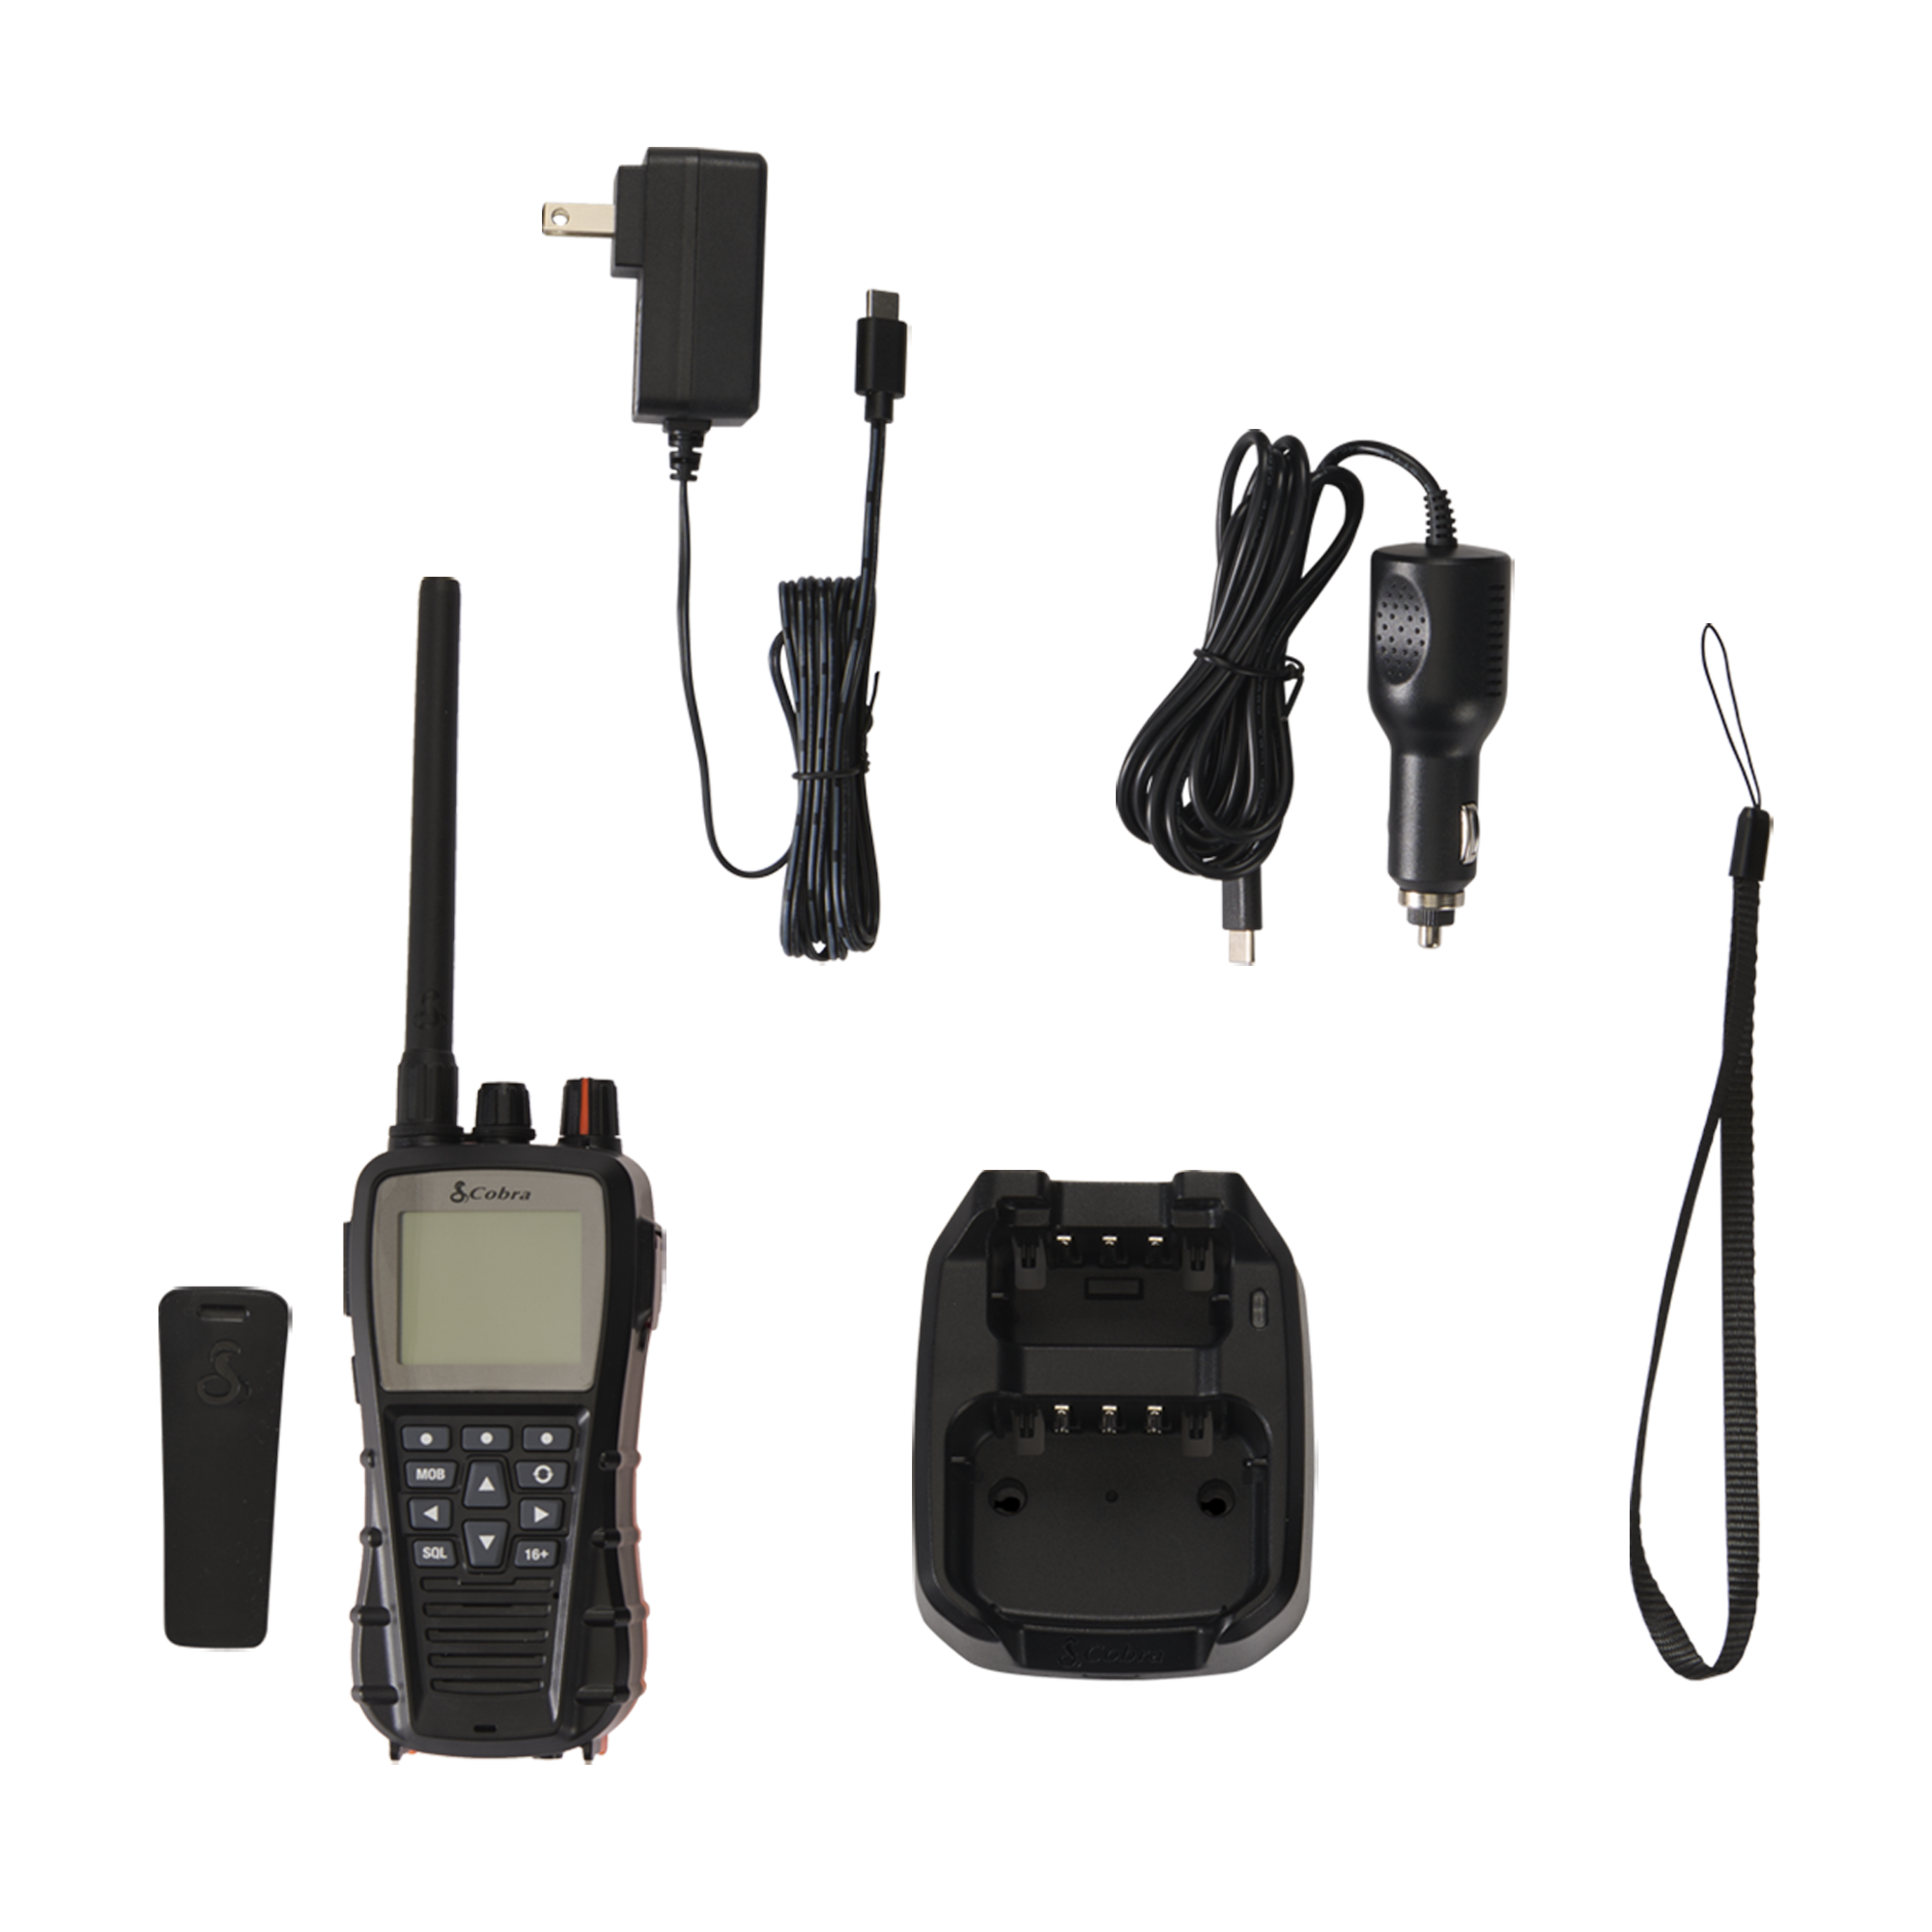 | What's IncludedBlueBound 650 VHF RadioPower Accessories
Additional Accessories
|
This guide will give you step-by-step instructions for getting up and running with your new radio, including going over some of its special features. See the video above for a full run-down of all the features or see below for help with transmitting your first message.
Initial Setup & Transmitting
- Make sure that your radio is fully charged before you begin.
- You can charge the included Lithium-ion battery using the provided USB-C charging base.
- The battery can be charged while inserted in the radio by placing the radio in the larger front charging slot of the charging base, or when taken out of the radio and inserted into the smaller charging slot in the rear.
- Plug the charging base into either its USB-C to 12VDC charging cable, or its USB-C to AC charging cable.
- Turn on the radio by turning the volume knob clockwise (if you are looking down at the radio from the top) until you hear a snap, and the radio's display powers on.
- If you do not have an MMSI number to input, you may bypass the MMSI input screen by pressing the soft button beneath the "Ok" on the screen.
- Without an MMSI, none of the DSC or GPS features of the radio will work.
- You can obtain an MMSI number by first registering your radio with Cobra
- After you've registered, wait an hour and you can sign up for BoatUS by visiting our Partnership Page
- An MMSI number is included for free with any tier of the BoatUS membership, please contact BoatUS for further questions about service tiers or obtaining your MMSI number
- Choose your channel using the up/down arrow keys in the center of the front keypad button cluster. We recommend that you choose channel 9 for your first transmission to another vessel.
- In all channel mappings, channel 9 is the recreational boater channel, while most others are reserved for commercial or government use.
- In all channel mappings, channel 16 is the distress and safety channel and should be monitored at all times but only transmitted on if you have a genuine emergency.
- Your BlueBound 650 VHF is equipped with a Tri-Watch feature, enabling you to toggle between Channels 9, 16, and a custom channel of your choice. See the manual for further details.
- Toggle broadcast power between High (6 Watts), Medium (3 Watts), or Low (1 Watt) by entering into the menu with the three soft keys located below the LCD and choosing your wattage from the settings.
- Vary your wattage based on how far away the receiving radio will be. Start with the lowest wattage and move your way up to the next higher wattage until you can be heard.
- Higher wattage transmission will deplete your battery faster. Consult your manual for estimated battery life for usage at the standard 90% standby/5% transmit/5% range.
- Use the volume/power knob on top to change the reception volume of the radio. If you cannot hear inbound reception, lower your Squelch using the Squelch button (labeled SQL) on the front at the bottom left, and the arrow keys to adjust down the filtering. This will increase the range from which you can receive a signal; however, it will come at the cost of signal clarity.
- To transmit your first message:
- It is recommended that you perform your first radio check on channel 9.
- Hold the radio around 2 inches (5cm) from your mouth.
- Press and hold the Push-to-Talk (PTT) Button (the largest button) on the left side of the radio.
- Keep the PTT button held while you talk at a normal volume.
- Release the PTT button when you are done speaking.
If you have questions about the radio, consult your manual at the link below, or check our Additional Support guides.